Sie sind nicht angemeldet.

Lieber Besucher, herzlich willkommen bei: Spur 1 Gemeinschaftsforum. Falls dies Ihr erster Besuch auf dieser Seite ist, lesen Sie sich bitte die Hilfe durch. Dort wird Ihnen die Bedienung dieser Seite näher erläutert. Darüber hinaus sollten Sie sich registrieren, um alle Funktionen dieser Seite nutzen zu können. Benutzen Sie das Registrierungsformular, um sich zu registrieren oder informieren Sie sich ausführlich über den Registrierungsvorgang. Falls Sie sich bereits zu einem früheren Zeitpunkt registriert haben, können Sie sich hier anmelden.

  • »Antonio« ist der Autor dieses Themas

Beiträge: 34

Wohnort: Palombara Sabina

Beruf: Student (construction engineering)

  • Nachricht senden

1

Dienstag, 16. April 2013, 11:42

Segmentdrehscheibe - spur 1

Hello,
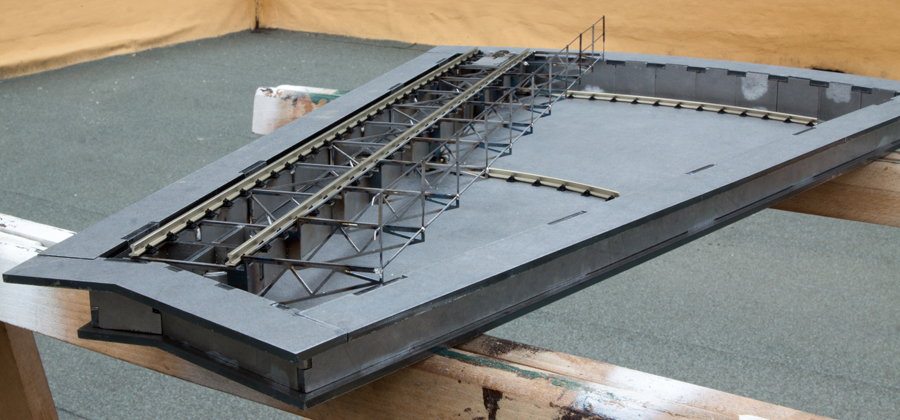
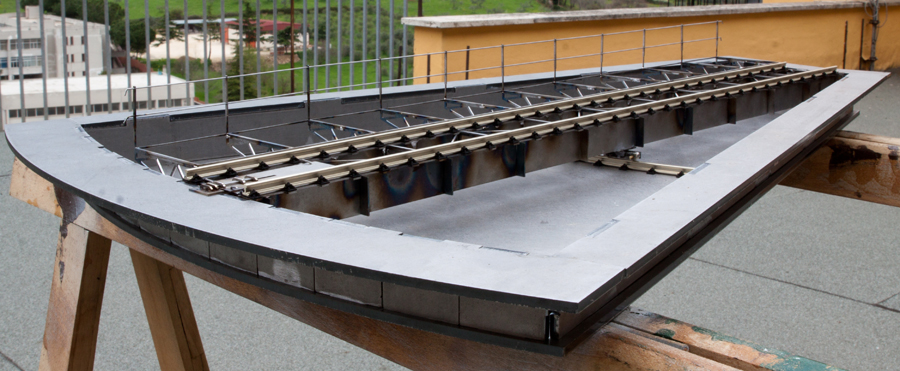
I think to realize a modular model railway in 1:32 scale (in Italy) in cooperation with a friend of mine. We decided to place a segment turntable in this project, so I realized the project with CAD and I decided to make turntable by laser cutting. The material is iron, the bridge is 1mm thickness, the pit is 4mm. Welds are made with tin or silver alloy in the most stressed parts. The pit is electrod welted.

All is made by a modular design, so the bridge can be longer or shorter and the pit can have a greater or lesser angle of rotation, based on requests.
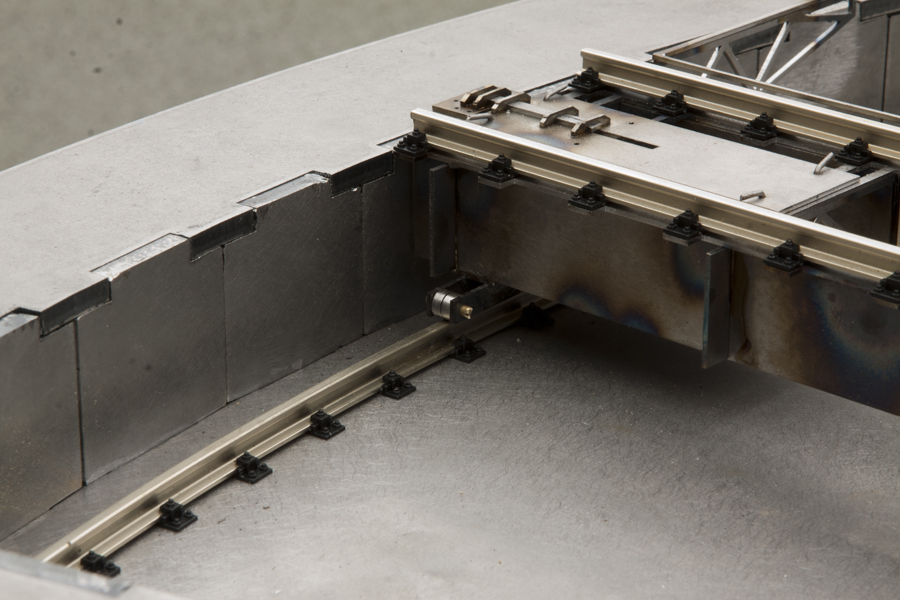
This bridge is 610mm long and has a rotation of 24° (in this particular pit). Here are some pictures:

Bridge view


Pivot pin moves on a 32mm ball bearing.
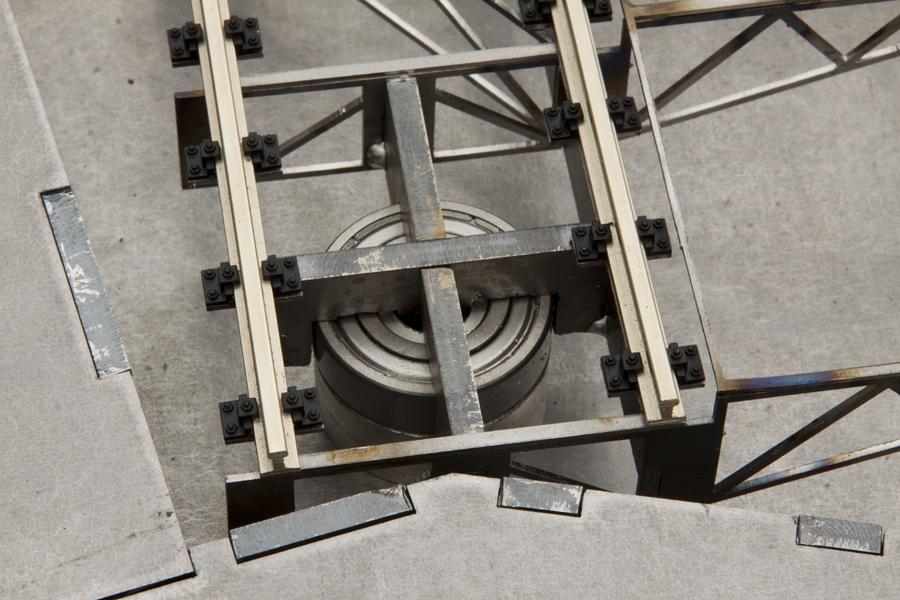

General rotation takes place on two carriages to spread the weight of locomotives in a better way.
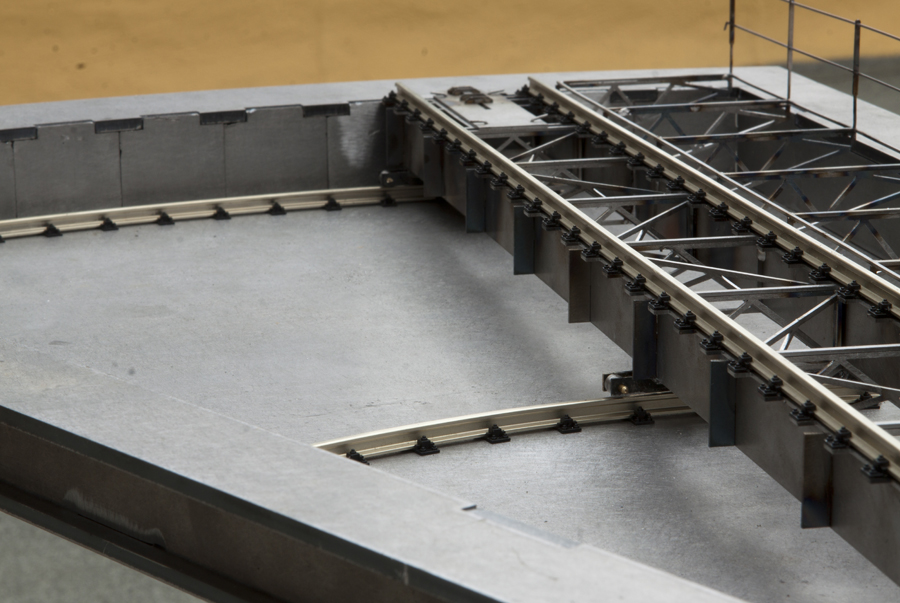

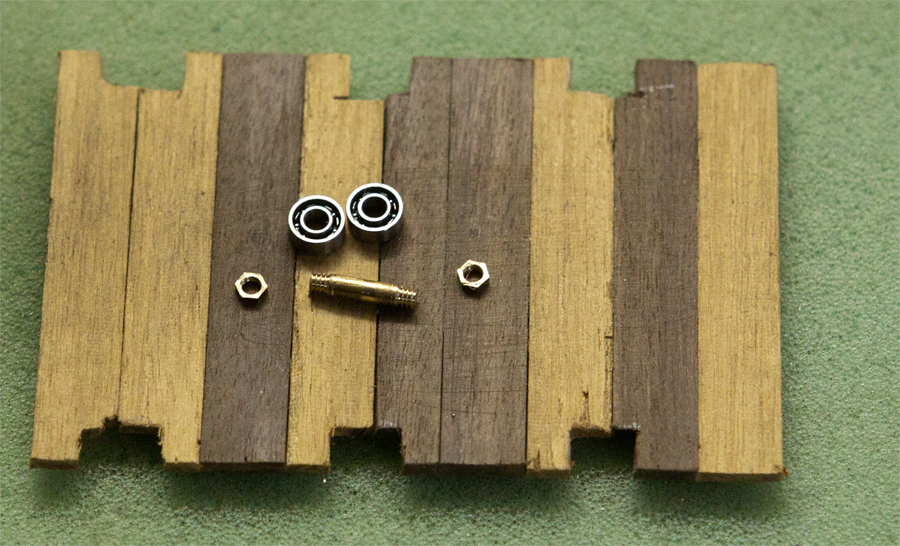
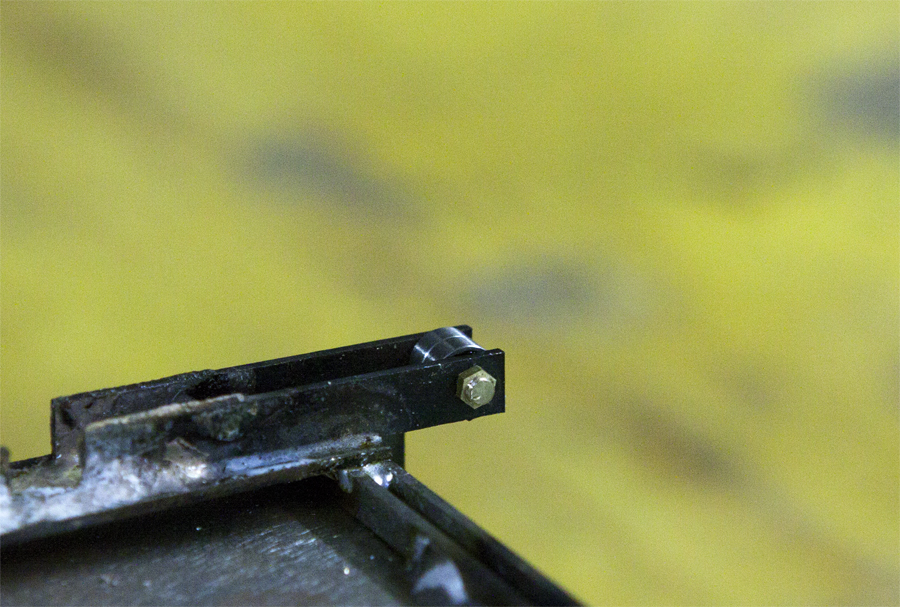
To have a flowing rotation, the carriages are equipped with micro ball bearings (5mm diameter). Each carriage has 2 ball bearings, so the bridge has 8 ball bearings on 4 carriages.

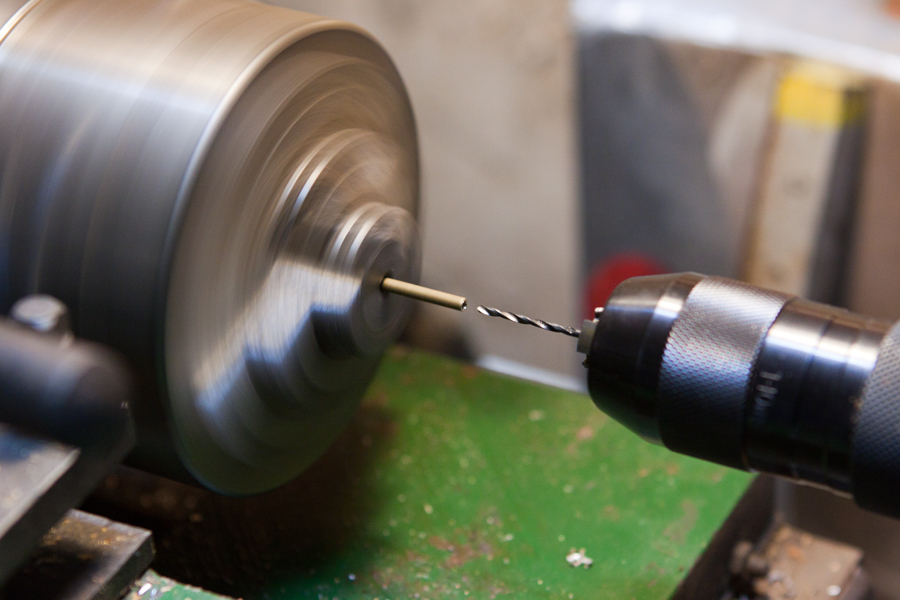
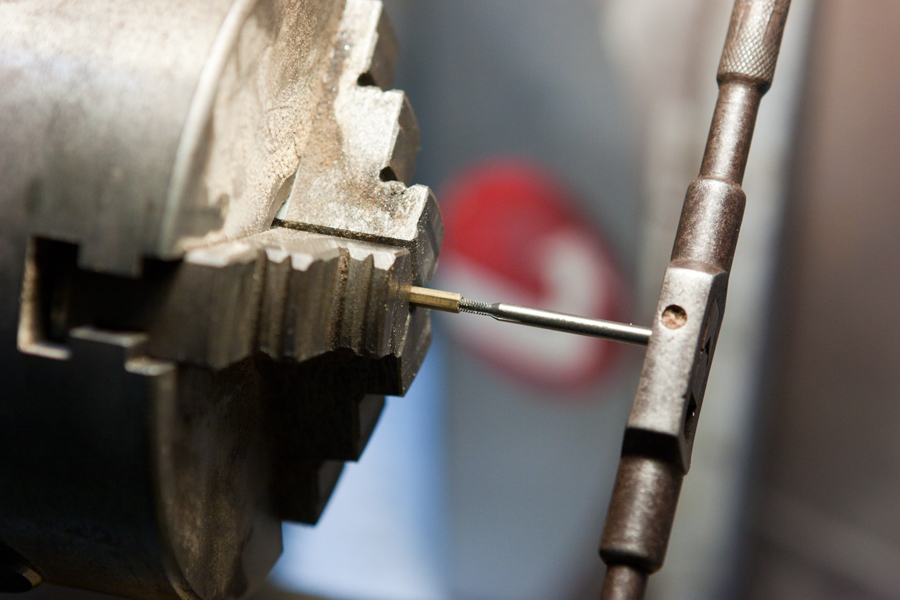
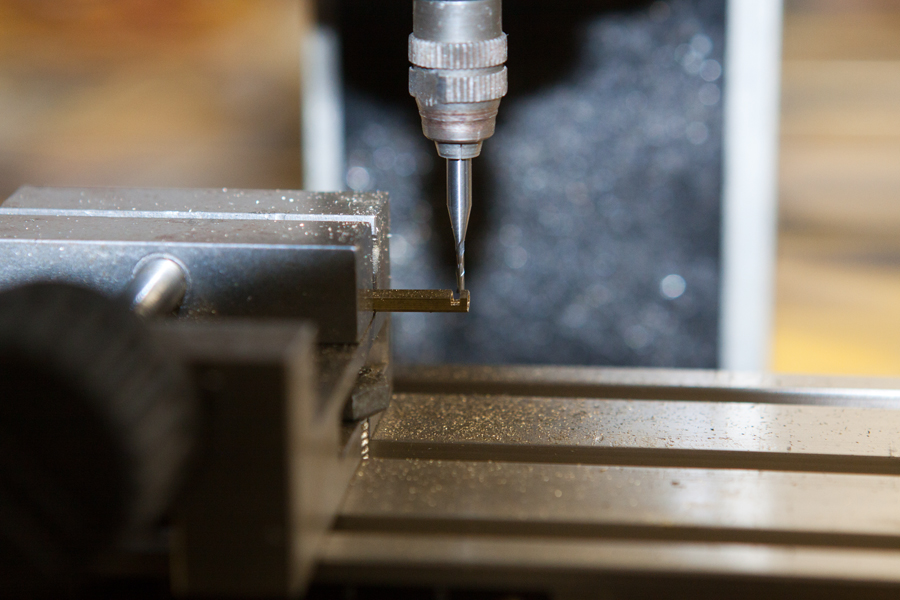
The ball bearings rotate on 2mm brass pin, locked in position by 2,5mm exagonal nuts made by me with lathe and mill machines. They have a good realism.

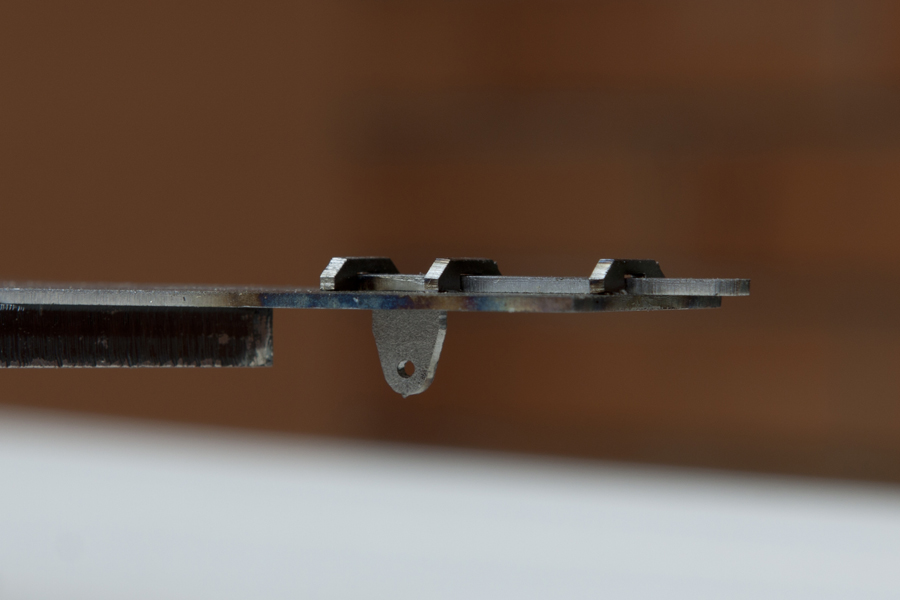
Locking system will be fixed to the bridge by M1 micro bolts. It will be controlled by a small servo.
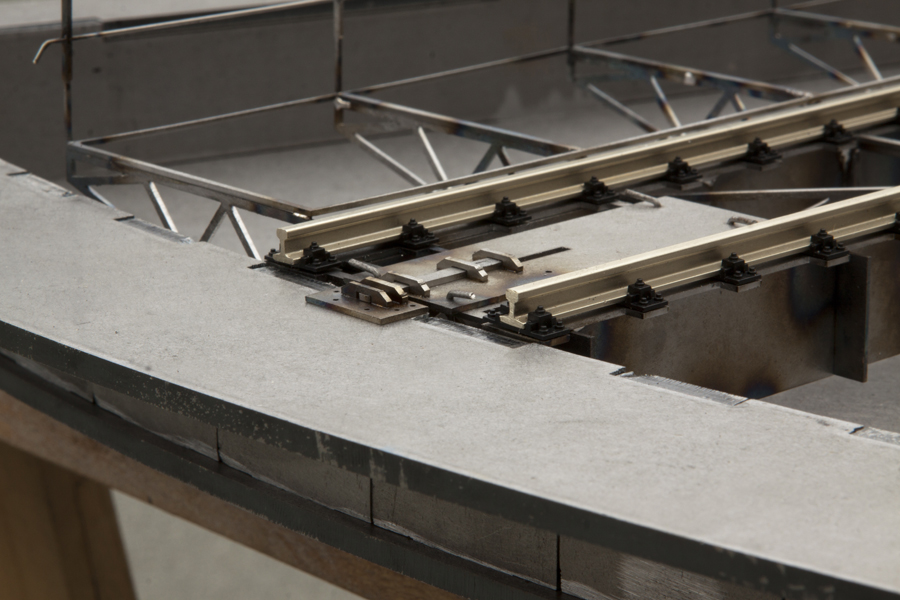

Locking system detail.

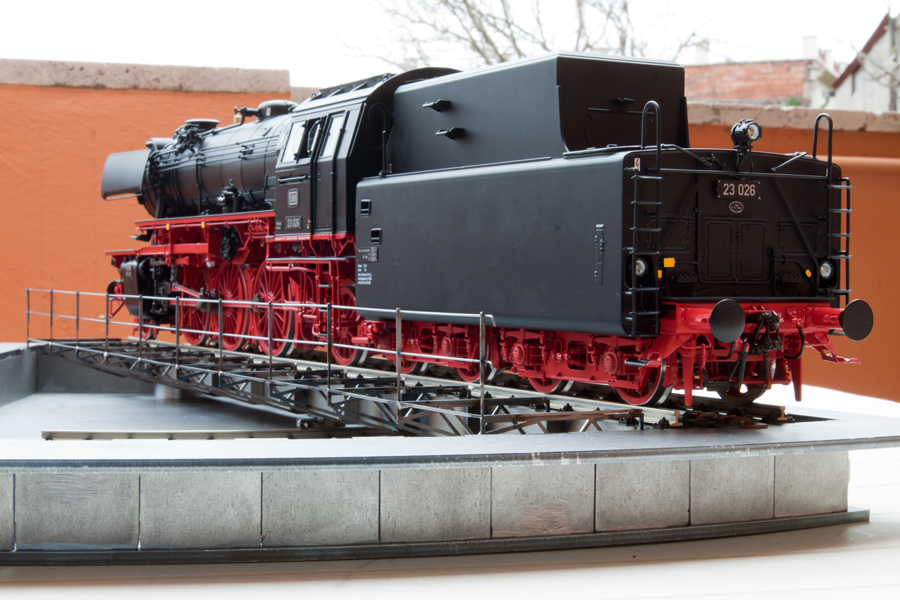
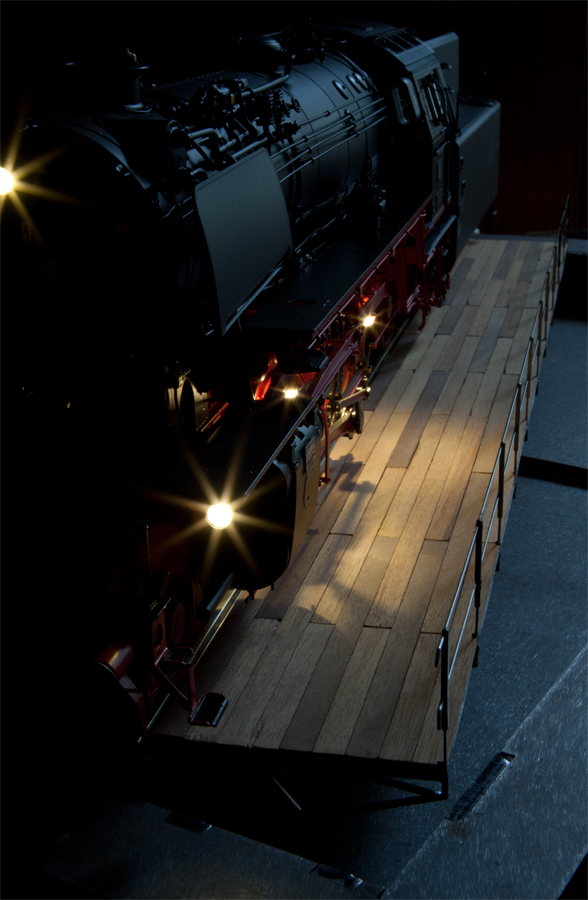
Two general views of bridge and pit structures together:


Wooden boards


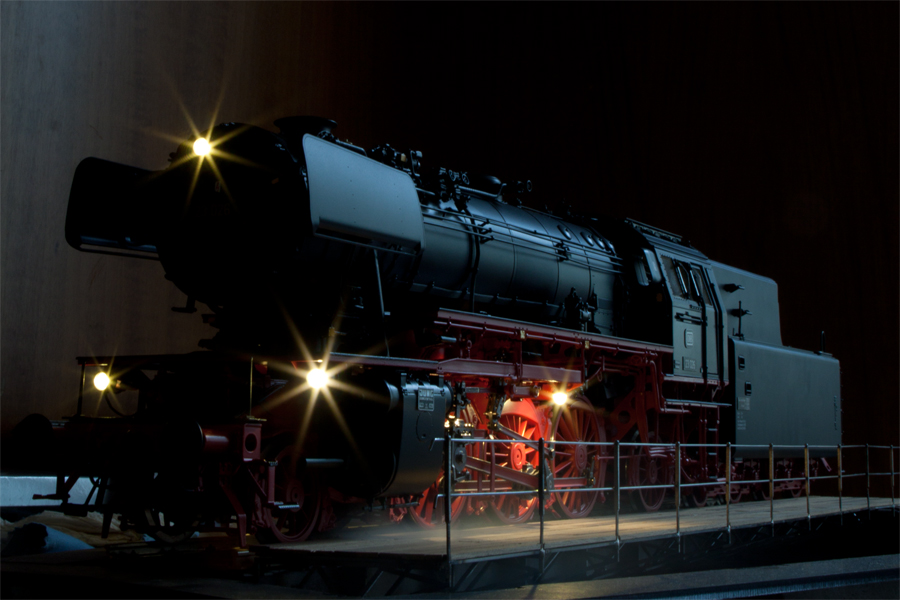
Another general view with BR23 on:


Gruß
Antonio

2

Dienstag, 16. April 2013, 12:46

Great Work!

Hallo Antonio,

it´s a great work. Thanks for the pictures. What is the weight of the "Segmentdrehscheibe"?

Gruß aus Berlin

Karl Gruden

  • »Antonio« ist der Autor dieses Themas

Beiträge: 34

Wohnort: Palombara Sabina

Beruf: Student (construction engineering)

  • Nachricht senden

3

Dienstag, 16. April 2013, 13:20

Thank you very much Karl.
The bridge weighs 900gr, the pit weighs 9,5kg. But the pit is self-supporting by the upper edges...it needs only a hole in the wooden floor to be inserted and no other structures to support the pit.
However, I'm thinking to make another pit using 4mm aluminium instead of iron, to make some tests (however, the cost for the aluminium pit will be superior).

Gruß

Antonio

  • »Antonio« ist der Autor dieses Themas

Beiträge: 34

Wohnort: Palombara Sabina

Beruf: Student (construction engineering)

  • Nachricht senden

4

Donnerstag, 5. Dezember 2013, 16:54

Hello,
I've started to build my modular track. Actually I realyzed two modules of an 8 meter lenght station and placed my "segmentdrehscheibe" in position. Here are two pictures made by phone. Now I'm working with Arduino (http://de.wikipedia.org/wiki/Arduino-Plattform) to make it move.

Ciao
Antonio
»Antonio« hat folgende Bilder angehängt:
  • 002.jpg
  • 001.jpg

5

Donnerstag, 5. Dezember 2013, 18:25

Hello Antonio
absolutely well done your segment turntable !
Be interested in the Arduino project. Would you like to report some details?
Best regards
Reinhard alias Donnerbüchse

  • »Antonio« ist der Autor dieses Themas

Beiträge: 34

Wohnort: Palombara Sabina

Beruf: Student (construction engineering)

  • Nachricht senden

6

Sonntag, 8. Dezember 2013, 19:17

Thank you Reinhard!!!

I'm writing a program for one Arduino board...it will control two little servos (locking system and signal). Another control is for rotating system. All movements will be automatic by pressing 4 buttons (one for each track): when button is pressed, Arduino rotate the signal, unlock the board and rotate it...at the end of rotation the board is locked and the signal rotate again.
Another Arduino board will control all signals and turnouts, all moved by microservos.

Ciao
Antonio

Ähnliche Themen